 Labdisc
 Botzees
 Edison
 Telepresence Robot
 DOBOT
DOBOT

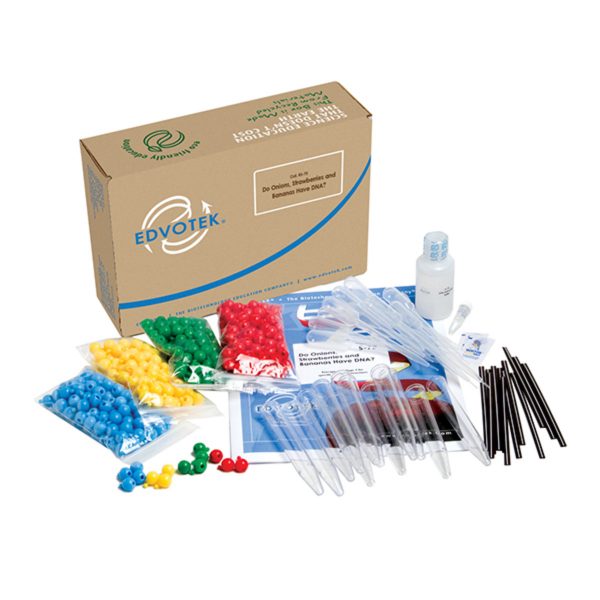
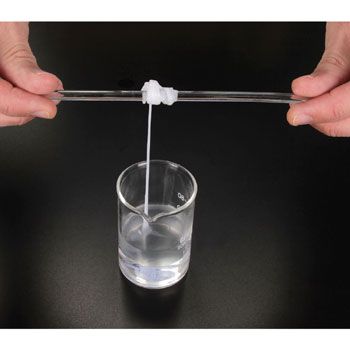
DNA Paternity Testing Simulation
DNA Paternity Testing Simulation
We simulate how fingerprint DNA can be used to determine the genetic relationship between a child and a presumed father.
He will use the effect of a human DNA muscle electrophoresis, heredity and scientific skills to solve a hypothetical scenario.
Set for the whole class.